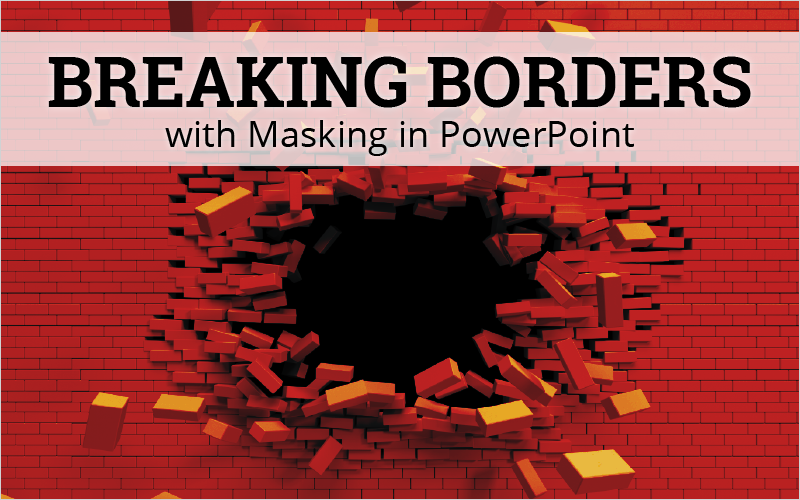
PowerPoint is known for being the “go to” platform for creating awesome presentations. And most of their user base uses it for that reason and that reason alone. But what you didn’t know is that PowerPoint can be a powerful graphics editor. Masking in PowerPoint, one of the most popular design options that can easily be done in PowerPoint. Masking allows you to create new shapes, and fill them with specific pictures or videos, thus allowing you to cut out unwanted sections of a picture (like the background). This allows you to create an object that looks like it is breaking boundaries and coming out of its frame.
The first thing you need to do is select the images you want to use to create a “pop out” effect. You need to determine what image will be popping out of what. (And for simplicity’s sake, I will refer to the objects that I have as examples.) Since you want to create the effect that the tank is popping out of the laptop, you need to outline the laptop screen and the parts of the tank that you want to shoot off the screen, in a freeform object. To create a freeform object, click on Insert>Shapes>Lines (it should be the second to last choice). If the shape isn’t what you wanted it to be or it doesn’t line up perfectly with the screen, you can right-click on the shape and select Edit Points to fix those problems.
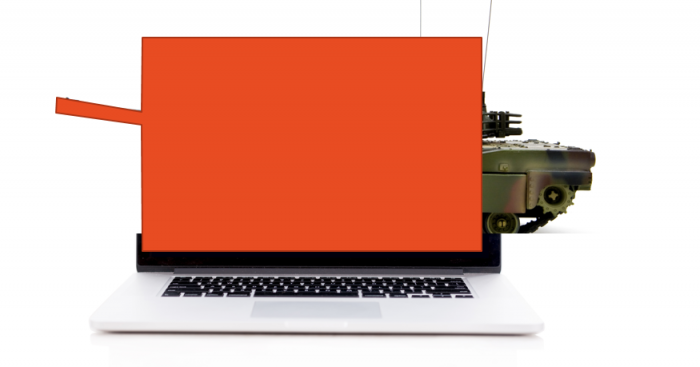

(This is what the mask should look like in comparison to the item that is breaking out of the borders)
Once this is done you need to right click on the shape, and select Format Picture. This will bring up the Format Picture pane. You then must change the fill to be the picture that you just outlined (aka the tank). And to do that, you click on the paint bucket towards the top of the pane, and select the fill to be a Picture or Texture fill. Here, you can search on your computer the file that you used previously. Once this is done, the image will look a little skewed and oblong. I have found that checking the Tile Picture as Texture helps format the picture the easiest. You will still need to offset and scale the X and Y axes so that the image is perfectly aligned with the freeform shape.

The possibilities accompanying masking are literally endless. And you don’t need to leave PowerPoint to create the amazing effects that masking allows. Click Here for a great library of graphics that are ready for you to start cropping and masking!
Recent Comments