Whether creating a PowerPoint to be displayed to a board of executives or a group of kids in a high school history class, most of your attention is put on the content of the PowerPoint presentation. This isn’t bad, but what if I told you that you are forgetting a very important part of the presentation: the presentation itself. Let me explain. Obviously, the content that you will be displaying is the essence of your presentation, but most people never even think about the features that allow them to present the information effectively and professionally. I will be running through some of those features here. (All of these features will be located under the Slide Show tab on the main ribbon.)
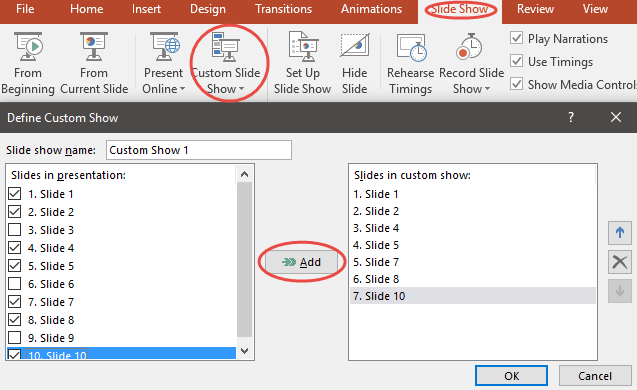
One of the first features is the Custom Slide Show button. This feature will allow you to hand pick slides you want to use from a previous project. So instead of deleting the slides you don’t need for a certain presentation, you can pick the slides you need and save it out as a custom presentation. This is a very helpful tool when you need to tailor a presentation for different audiences without saving out a new project every time.
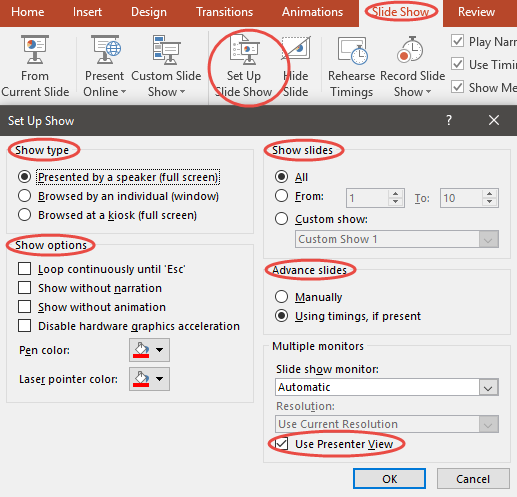
One of the most important features you will need to become acquainted with is the Set Up Slide Show tab. This tab will allow changing many of the minute details of your slide show. The first thing you will be able to have control over is the type of slide show you want. The Present by Speaker option will make it fullscreen and it will automatically have the Presenter View enabled. The Present by an Individual option will make it so the slide show will be in a resizable window that you can show and hide at a whim. When you select browsed at a kiosk, the presentation will run by itself, making it a prime choice for a convention or at a conference. Most of the controls that are normally given to users will be unavailable. The next choices will be the Show options. Here you can choose to loop the presentation until you hit Escape, present your presentation without the animations that you put in and even show it without the narration that you could have previously recorded. Another important feature here is your ability to change how you would like to advance slides. You can do it manually—which is what people normally do—or you can use the timings if they are set. This will allow you to pace yourself and only spend a certain amount of time on each slide. This is an easy way for you to not drag on in your presentation or go too fast. And the last thing here is the ability to use Presenter View or not. We will be talking later about Presenter View.
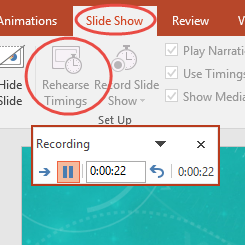
When you need to speak for a certain amount of time or you have a habit of rambling, you can rehearse and record the time it takes for you to get through each slide. After you have recorded the time that it takes to get through each slide, you will be prompted to either save or discard the timings you have just recorded. If you decide to keep them it will then make it so the slides will automatically change when your rehearsed time for that slide is up.
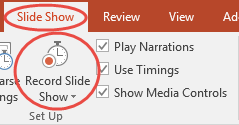
When you Record Slide Show, you can narrate and talk through the slide show and have your voice be recorded and inserted onto each slide individually. So every time you switch the slide, it will start a new audio recording. This is very helpful when you want to put the presentation online for people to participate in when it would have been otherwise unavailable. Also, you can choose whether or not to use the timings, and narrations that you have recorded. This is helpful in just defaulting back to a manual advancement of slides and no narration.
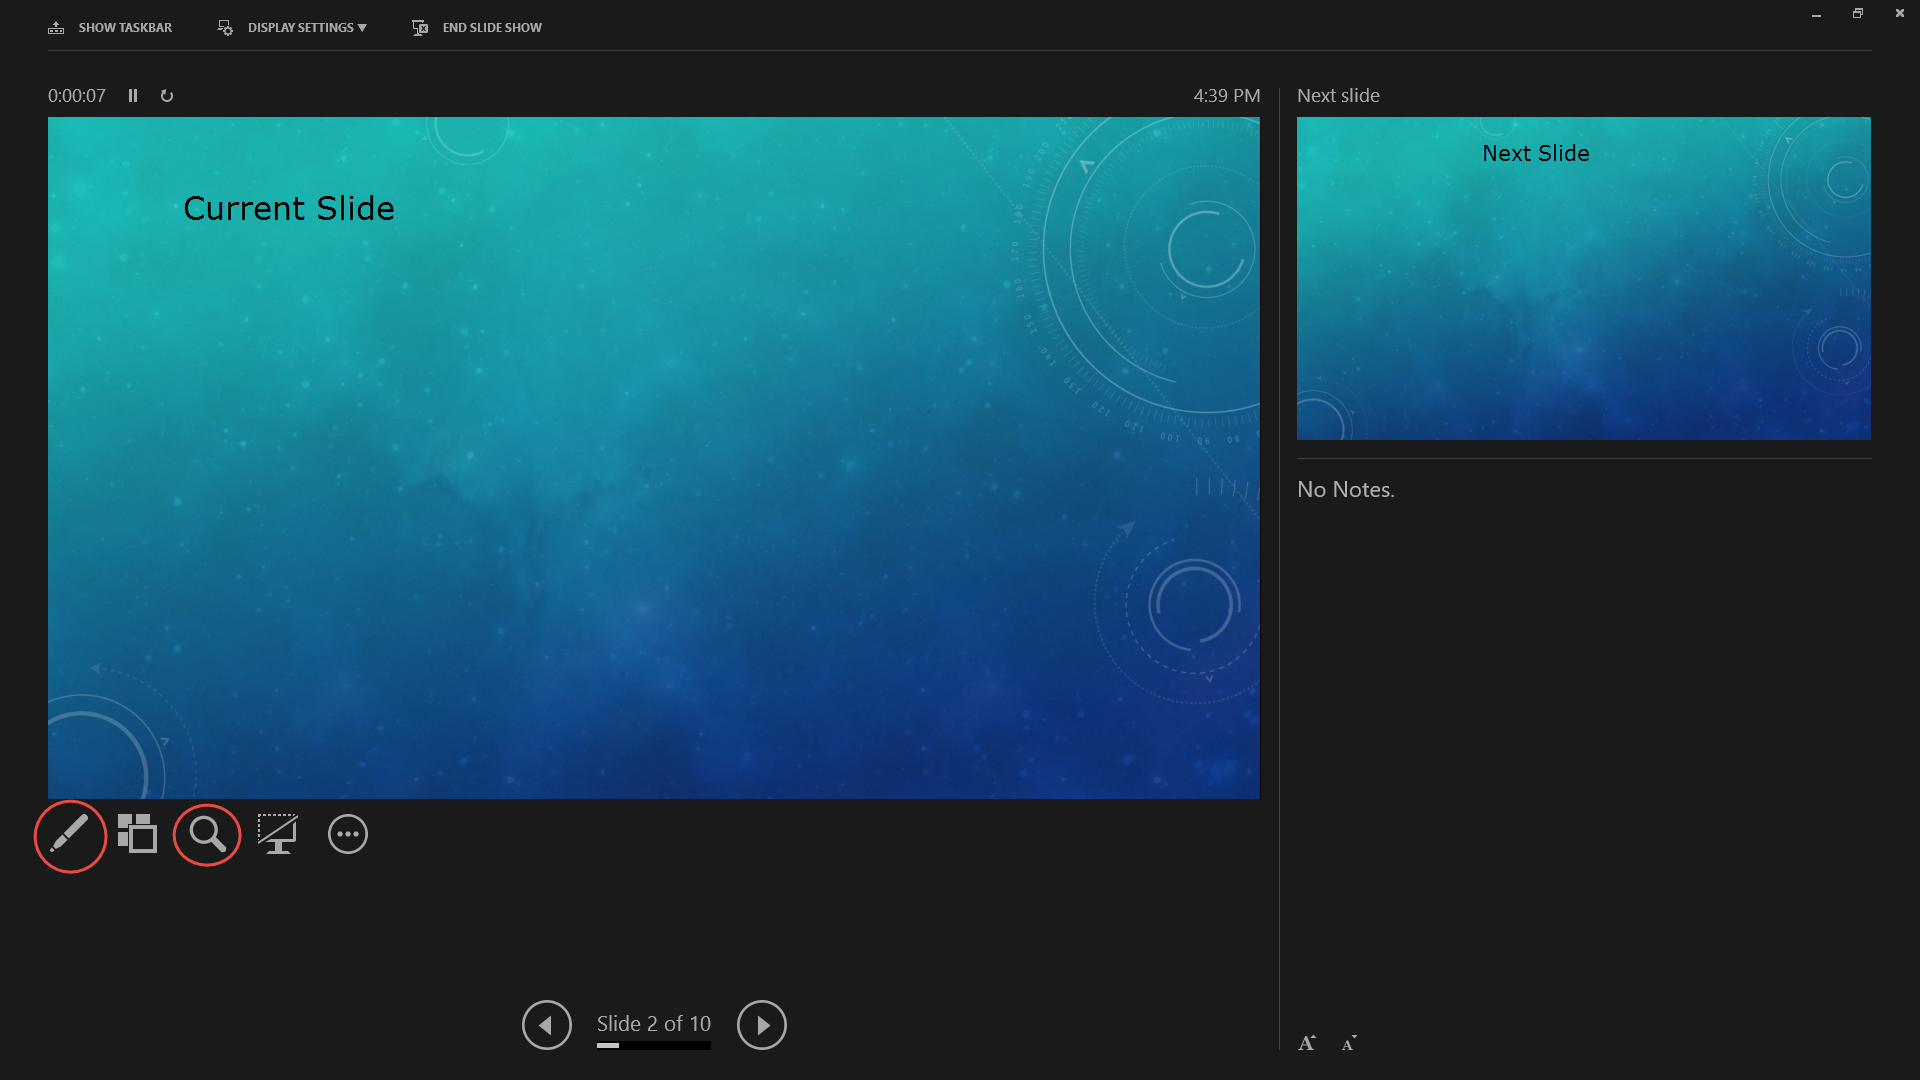
Here we have the Presenter View. This view will be shown only to the person presenting the PowerPoint. The audience will see only the presentation. This view is such a lifesaver when it comes to presenting. Here you can see the Current Slide, and the notes that are associated with that slide. You can also view the Next Slide. This will help you prepare for a transition into the next topic. Down towards the bottom of the current slide, you can see a variety of tools, such as a pen to be able to draw and bring attention to certain objects of the current slide. You can also change the view of the Presenter View to make it so you can see every single slide all at once. This will help you gather your bearings and determine changes that may need to be made. You can also zoom in on objects on the current slide; this will also zoom in for your audience. It is yet another great way to draw attention to objects on the slide. You can also black-out the slide to talk face to face with your audience. This is a tactic to get the audience to focus on you and not doze off looking at your slide show.
In preparing your next PowerPoint, don’t forget to check and modify your presenting options. These features bring so many things the table that will blow your audience away. Let me know in the comments section below how these features have helped you in becoming a master presenter!
Recent Comments